How to Setup Auth0 for OpenAI Apps SDK with MCP
- Rohit Jadhav
- Mar 15
- 3 min read

Updated: Apr 3
"Auth0 is a flexible, drop-in solution to add authentication and authorization services to your applications. Your team and organization can avoid the cost, time, and risk that come with building your own solution to authenticate and authorize users." — Auth0
In modern applications, implementing authentication securely can be complex. Instead of building login flows, token handling, and security mechanisms from scratch, developers, often rely on managed identity platforms like Auth0.
In this guide, we will configure Auth0 to work with an application built using the OpenAI Apps SDK and the Model Context Protocol (MCP). This setup will allow ChatGPT apps to authenticate users through OAuth before accessing MCP endpoints.

Step 1: Create an API in Auth0
First, we need to create an API in Auth0. This API represents the backend resource that clients will request access to.
Auth0 Dashboard → Applications → APIs → Create API
Open the Auth0 Dashboard.
Navigate to Applications → APIs.
Click Create API.
Enter the following details:
Name: Your API name
Identifier: https://<ngrok-domain>
JWT Profile: Auth0
Signing Algorithm: RS256
User Access: Allow
Click Create.
The Identifier acts as the audience for your API and will be used later in the backend configuration.

Step 2: Configure the Default Audience
Next, configure a default audience so Auth0 automatically issues tokens for your API.
Auth0 Dashboard → Settings → General → API Authorization Settings → Default Audience
Open the Auth0 Dashboard.
Navigate to Settings → General.
Scroll to API Authorization Settings.
Set Default Audience to:
Click Save Changes.
This ensures that when authentication occurs, Auth0 issues an unencrypted RS256 JWT token.

Step 3: Enable OIDC Dynamic Client Registration
Apps built with the OpenAI Apps SDK dynamically register OAuth clients when connecting to an authentication provider. To support this behavior, OIDC Dynamic Client
Registration must be enabled.
Auth0 Dashboard → Settings → Advanced → Settings
Open the Auth0 Dashboard.
Navigate to Settings → Advanced → Settings.
Enable OIDC Dynamic Application Registration.
Click Save Changes.
This allows external applications to dynamically register OAuth clients within your Auth0 tenant.

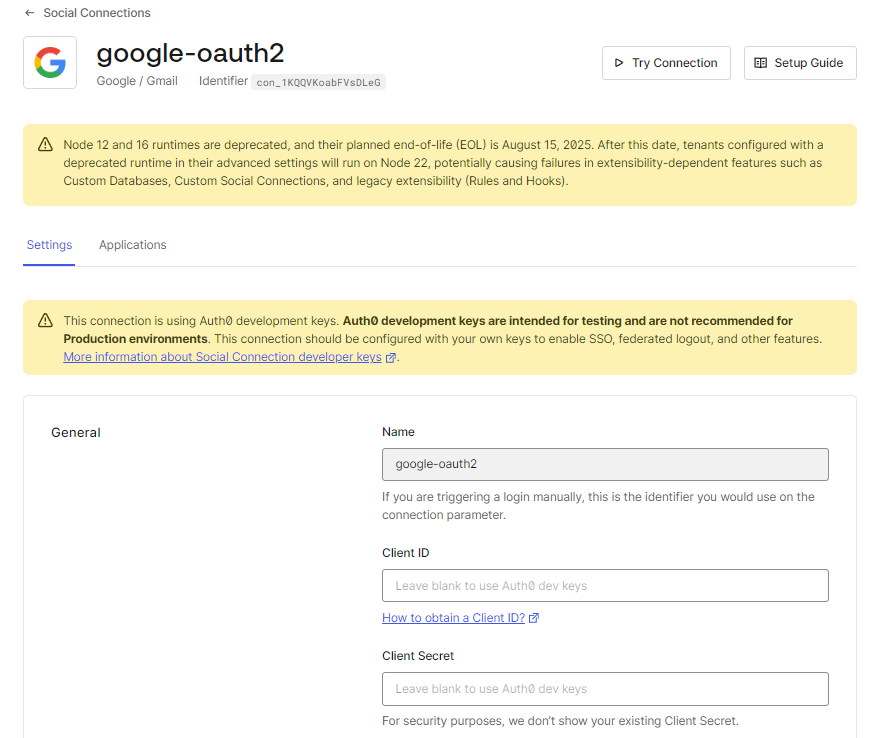
Step 4: Configure Authentication Connections
Auth0 requires at least one authentication connection so users can log in.
Enable Username–Password Authentication
Auth0 Dashboard → Authentication → Database → Username-Password-Authentication
Open the Auth0 Dashboard.
Navigate to Authentication → Database.
Select Username-Password-Authentication.
Enable Promote Connection to Domain Level.
Save the changes.
This allows the authentication connection to be used across applications within the Auth0 tenant.

Step 5: Create an App in ChatGPT
To connect your MCP server with ChatGPT, you must create an app in the ChatGPT developer interface.
Enable Developer Mode
ChatGPT → Settings → Advanced → Developer Mode
Open ChatGPT.
Click your profile icon.
Go to Settings.
Navigate to Advanced.
Turn Developer Mode ON.
Refresh the page.

Create the App
ChatGPT → Settings → Apps → Create App
Open Settings → Apps.
Click Create App.
Enter the following details:
App Name: Your application name
Description: Short description of what your MCP server does
App URL: https://<ngrok-domain>/mcp
The App URL must:
Be publicly accessible
Use HTTPS
Be reachable from the internet

Step 6: Backend Environment Variables
Finally, configure the required environment variables in your Model Context Protocol server.
AUTH0_DOMAIN=<your_tenant_id>.us.auth0.com/ AUTH0_RESOURCE_SERVER_URL=https://<ngrok-domain>These values must match exactly with the configuration defined in Auth0.
Troubleshooting
Error: No connections enabled for the client
Check the database connection settings.
Auth0 Dashboard → Authentication → Database → Username-Password-Authentication
Ensure Promote Connection to Domain Level is enabled.
Error: Client is not authorized to access resource server
Check whether the API is authorized for the application.
Auth0 Dashboard → Applications → Applications → Select Application → APIs
Make sure the API is authorized for the client application like User Access should be authorized.
You can also inspect detailed logs at:
Auth0 Dashboard → Monitoring → Logs
With this setup, Auth0 now manages authentication for your OpenAI Apps SDK app connected to an Model Context Protocol server, ensuring that only authenticated users can access MCP resources.
Thank you for reading this article, I really appreciate it. If you have any questions feel free to leave a comment.